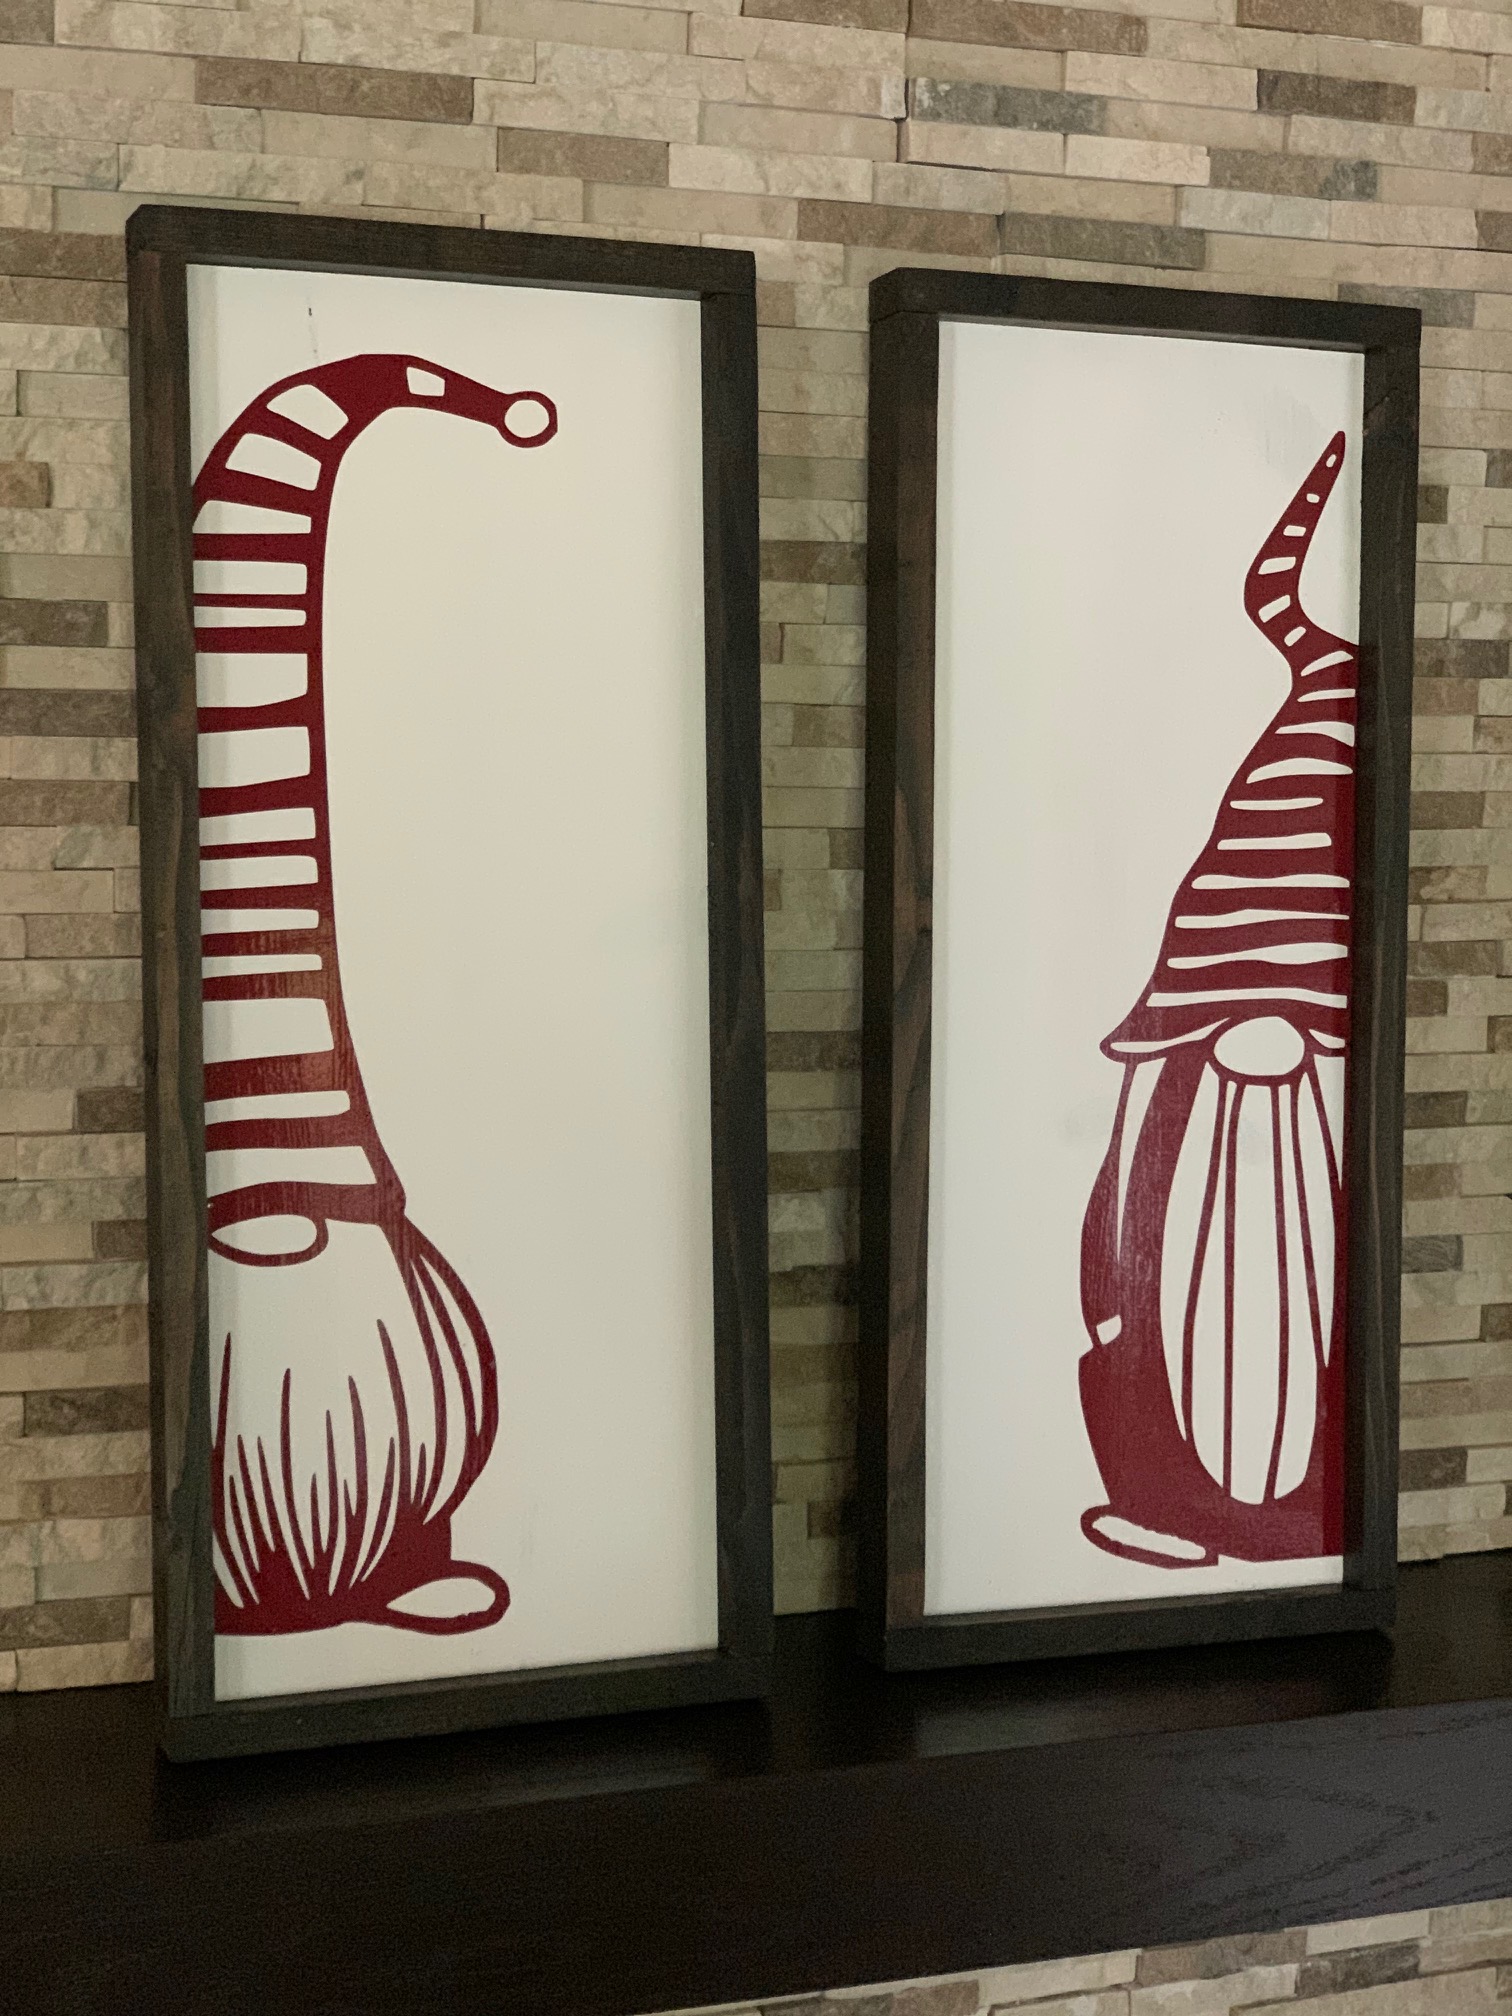
Framed Christmas Gnomes

Oh my, this set of framed Christmas gnomes is one of my favorite new projects! I could not wait to share these cute little guys with you! I don’t know about you, but I LOVE the holiday season. I love the weather, the lights, the decor, the baking, the family and friends, really everything about it! It actually brings me so much joy that I *may* have left one special piece of decor up allllllll of 2021 just to make up for last year’s Covid Christmas.
When it comes to decor, some people are Snowman fans, Angel fans, or Santa fans. I am a Gnome fan! How can you not love these cute little guys? I love shopping the holiday isles at the stores looking for new items to help transform my home into a winter wonderland.
I recently came across the idea for these framed Christmas gnomes. There are a ton of gnome-themed items available in stores and online but these guys stood out to me. I looked to see if there was a place I could buy them however was unable to find anything like them for sale.
I received a Cricut years ago from my husband. It has gotten some good use however I am still guilty of forgetting about it and paying a 3rd party crazy amounts of money to produce something I was perfectly capable of creating on my own. The simplicity of these framed Christmas gnomes made them a perfect DIY project for me to tackle.
Step 1 – Head to your local hardware store

For this project, you need 1 – 8′ x 10″ board as well as 12′ of trim board.
Once you have the wood you will need to cut it into the following sections:
- 2 – 4′ x 10″ panels
- 4 – 2′ trim*
- 4 – 1′ trim*
*Measure your panels prior to cutting your trim as they are not always perfectly cut when you buy them. Also, depending on the type of paint and stain you use, the wood can expand or contract as it dries. I suggest cutting trim long to start with. After the stain and seal are applied and has dried, re-measure and trim as needed prior to attaching.
Step Two – Paint
For this project, I opted for a basic white acrylic craft paint #ad for the 4′ x 10″ panels. Right now Amazon has a great deal on this paint.
The trim pieces were coated with a fast-drying wood stain #ad. This is also available on Amazon. The price is currently around $8 (subject to change) however keep in mind, a little goes a long way. This can will last you for a while. I used about 1/10 of the half-pint container for this project.
For an added layer of protection on the stained items, I like to coat with a layer of Polyurethane #ad. I prefer spray paint as it makes application a breeze. This is also an item that you will be able to use for multiple projects.
Step Three – Cricut Time!
This is my favorite part of crafting. It is so satisfying watching the little blade do its magic.
Once the cuts are complete weed image.
Step Four – Apply Vinyl
EEEEEKKK! Soooo cute! Need I say more…..

Step Five – Attach Frame
As I mentioned before, you will want to re-measure all of your trim to make sure it is the right length. Make any last-minute cuts to line everything up and then you are ready to nail it all together.

Once nails are in using a nail gun, you will notice they still stick out a little bit. You will want to tap them in the rest of the way so that they do not snag on anything or nic anyone as they can be a bit sharp.

Step Six – Smile, Show your friends and enjoy the holidays!!!


